-
Three steps to...
-
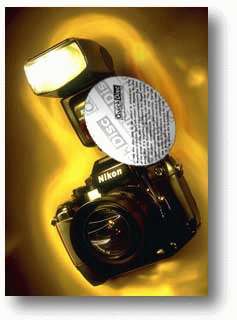 1 • Put the circular QuickDisc next to the object you want to photograph. It does not matter if the disc is not perpendicular to the optical axis. Due to the round shape of the QuickDisc, the full diameter is visible in every orientation . (That is what the QuickDisc is all about!) 1 • Put the circular QuickDisc next to the object you want to photograph. It does not matter if the disc is not perpendicular to the optical axis. Due to the round shape of the QuickDisc, the full diameter is visible in every orientation . (That is what the QuickDisc is all about!)
|
-
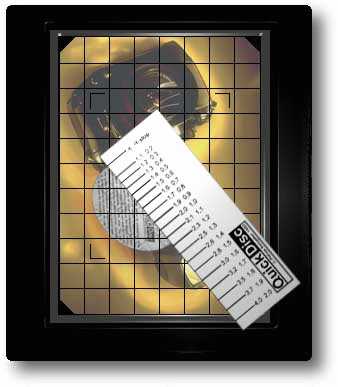 2 • Measure the largest visible diameter of the image of the QuickDisc with the scale. The measuring scale is tabulated in tenths of an f-stop. The left column, named xt gives the correction factor, the exposure time has to be multiplied by this factor to get a correct exposure. The right column gives the correction value in f-stops. 2 • Measure the largest visible diameter of the image of the QuickDisc with the scale. The measuring scale is tabulated in tenths of an f-stop. The left column, named xt gives the correction factor, the exposure time has to be multiplied by this factor to get a correct exposure. The right column gives the correction value in f-stops.
Example: When an object is photographed at life size (1:1) the exposure time has to be increased four-fold OR the aperture has to be opened by two stops. Be aware, that increasing the exposure time above the limits given by the film manufacturer will result in reciprocity failure and must be compensated according to the technical specifications of the film.
|
| 3 • Don´t forget to remove the QuickDisc before taking the picture! |
|
|
 How to use the