After I bought the D750 I rarely used the D7000 any more. As it has been heavily used it would probably not get a lot if I sold it, so It mostly stayed in the closet.
Then I learned that the Nikon D7000 sensor is still used in current astronomical CMOS cameras (e.g. ASI071MC Pro or QHY168C) apart from the cooled sensor the main advantage of the astronomical cameras is the better response to H-alpha emission because of different IR-cutoff wavelength.
H-alpha emission is the red light created when young, hot stars excite hydrogen gas in the interstellar medium. Regions of onging star birth are usually distinctly red. Sadly regular DSLR cameras pick up that red light only very faintly.
After a discussion with a colleague of the Vorarlberger Amateur Astronomen I plucked up the courage to take the camera apart and get rid of the IR blocking filter.
Following this tutorial i started unscrewing lots of screws and prying apart the printed circuit boards:
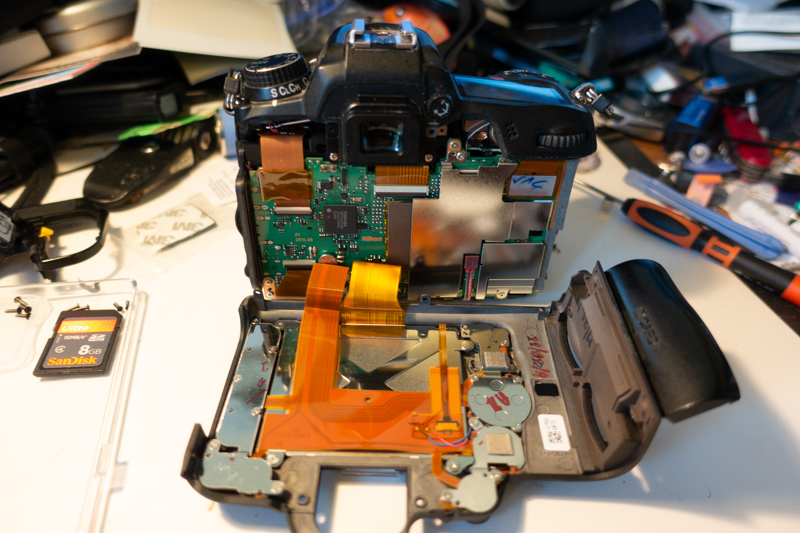
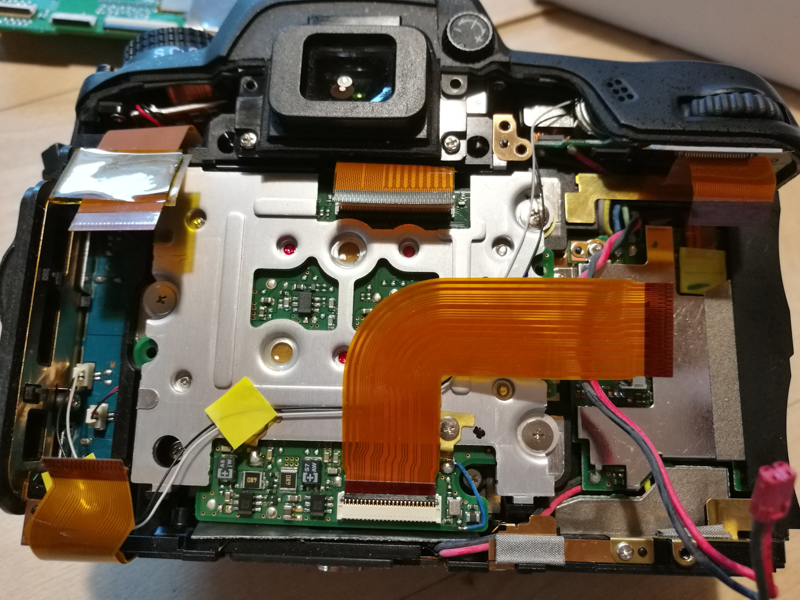
the back of the camera is attached to the mainboard by two ribbon cables
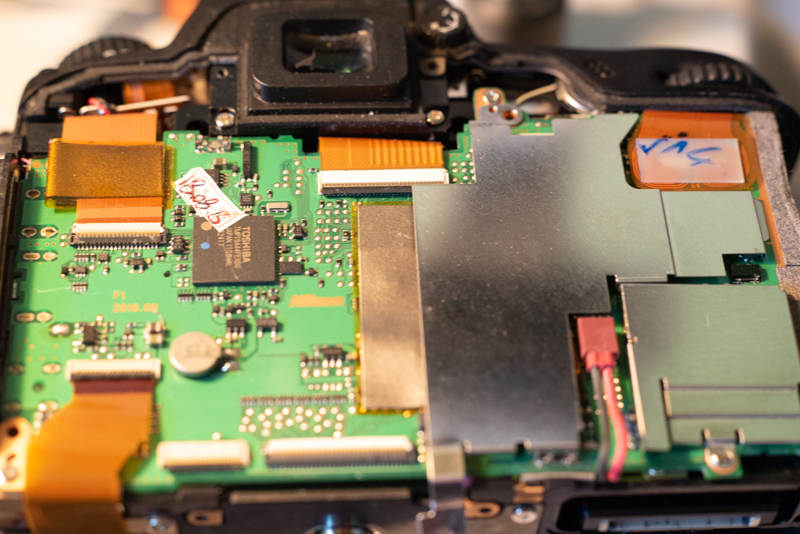
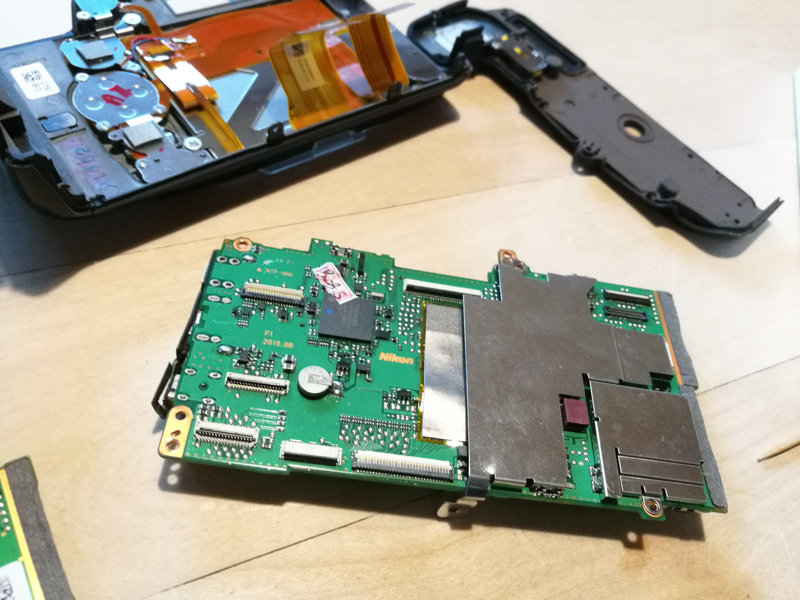
after disconnecting a few ribbon cables the main circuit board can be unscrewed
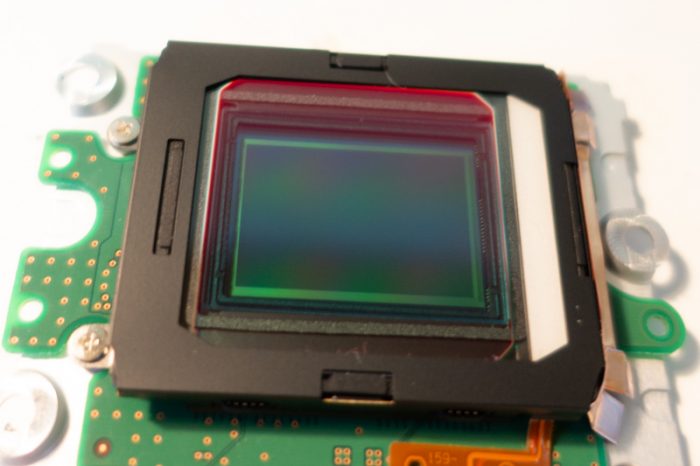
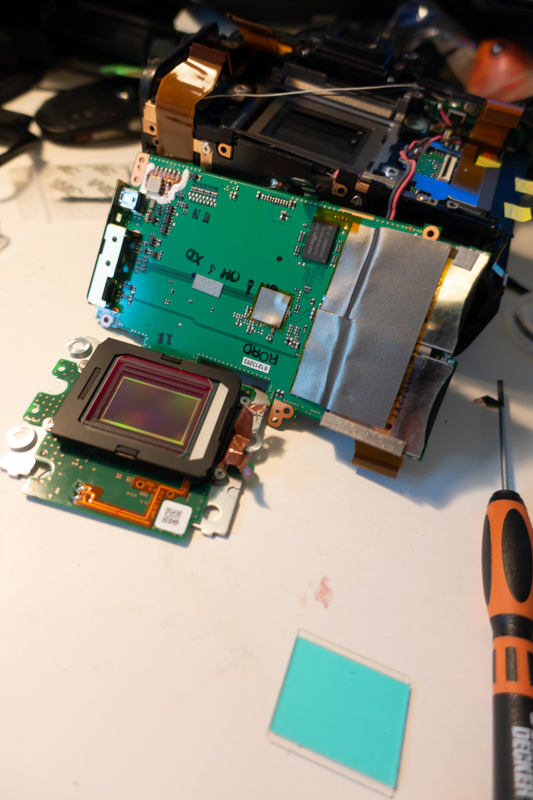
the sensor board is next
after the IR blocking filter has been removed everything needs to be put together again
The ribbon cable connectors are quite flimsy, and watch out there are different types, that open in different directions. Sadly I broke two of them, so my camera was toast…
But as I have already fixed a few Sony RX100 cameras I started searching for a replacement board and found one on aliexpress. A few weeks later it arrived from china, and I started again to disassemble the camera, and switch in the new circuit board.
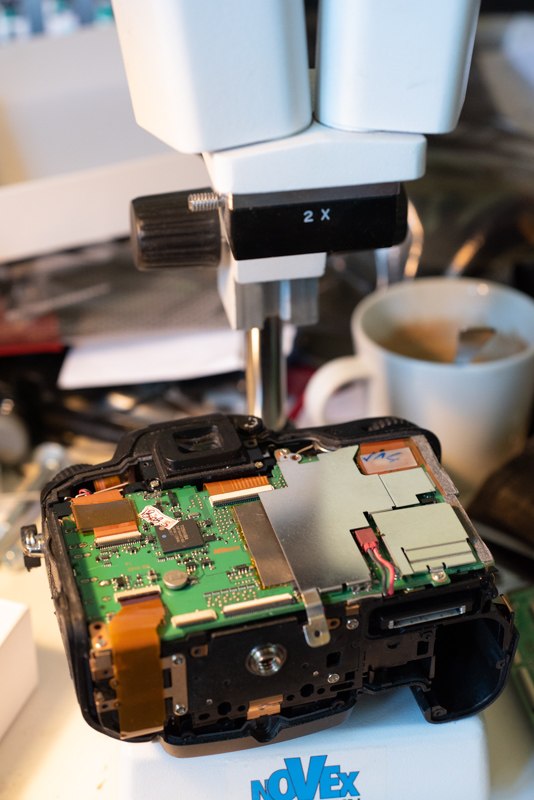
the replacement circuit board, I used a binocular loupe this time to make sure I do everything right
But when I turned the camera on, nothing happened, apparently the camera was still dead. I put it into the closet again, and startet thinking what might have gone wrong. A few weeks later I found the time to dissasemble it again – I remembered from my first disassembly that the ribbon cable that snaps into place in the upper right of the pcb slid out of the connector on the wrong end of the cable, and I had trouble putting it back in again. So I tried to put it in correcly this time, and re-assembled the camera.
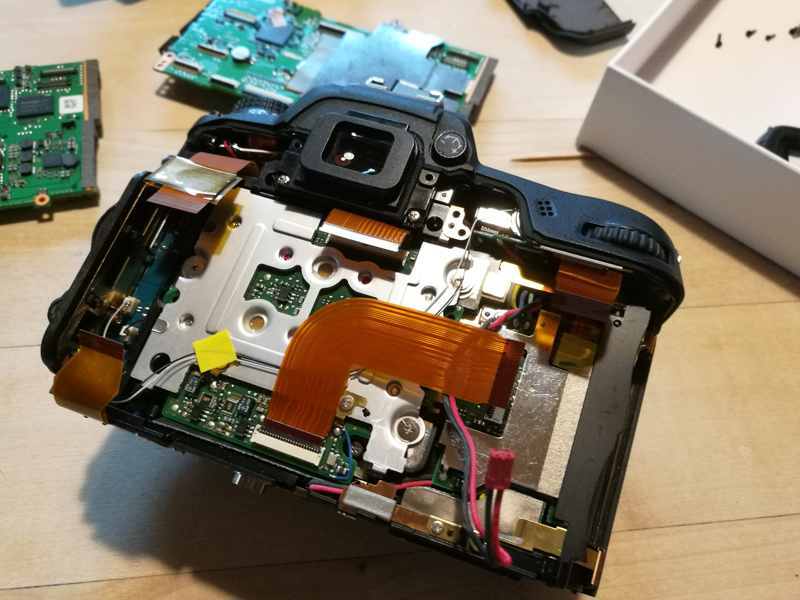
the ribbon cable below the thumbwheel is connected differently from all the others, it snaps into place. I didn’t know that when taking the camera apart, so accidentially I pulled the cable out of the connector on the other end of the cable.
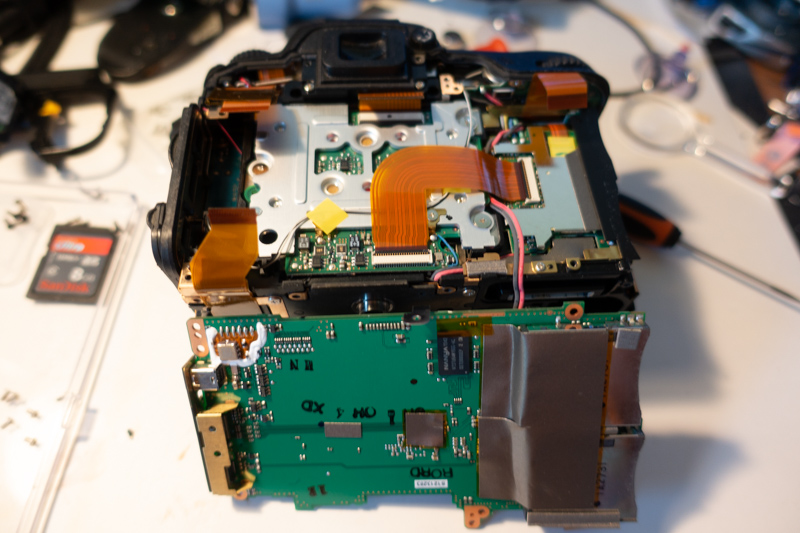
the main pcb disconnect from all the ribbon cables
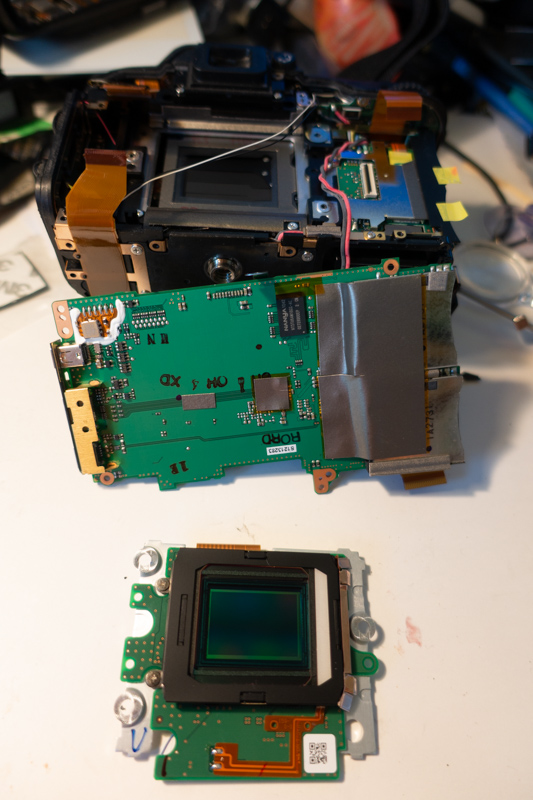
back of camera with the main pcb removed
When I turned the camera back on again, it worked, at least the LCD lit up and the “clock” message appeared. But the display on the back stayed empty apart from the backlight. After pressing the ok button I was able to use the control knobs to set exposure and even take a few images, I could not change any menu settings or see the images I took or use the screen for live-view focusing.
So I picked up the screwdriver again and removed the back of the camera, After close inspection I saw that one of the two ribbon cables connecting the back to the main pcb was not seated perfectly. Using a magnifying glass, balancing the back on my fingers while aligning the cable with the connector and closing it, I tried to put it in correctly. This time the display worked!
As expected regular autofocus is not working properly any more, as I didn’t even try to calibrate the autofocus mechanism with the changed optical thickness due to the missing filter. But live-view focus still works very well. This is good enough for astronomical applications, as focusing is done either using live-view on the back of the camera or on the laptop.
Of course the color balance is also not working properly any more, as the IR blocking filter removed a lot of red light, which is now reaching the sensor. But with custom color balance or color balancing the RAW files later, this is not a problem at all.
this image was taken with live-view autofocus
the magent cast int he images can be removed by color-balancing the images in software
I will follow up on this article when I had the chance to use the camera under a dark sky.
Pingback: Full spectrum modification of a Nikon D7000 – Part II - Philipp Salzgeber photography
Pingback: California Nebula NGC1499 in H-alpha - Philipp Salzgeber photography
Pingback: North America and Pelican Nebula - Philipp Salzgeber photography
Pingback: Heart Nebula - Philipp Salzgeber photography